A do-it-yourself (DIY) weightlifting platform can minimize noise and keep you in a state of mind where you can concentrate more on your exercise.
As a certified personal trainer, I have been to many home gyms that utilize a DIY deadlift platform and asked how they built it to suggest the same to some of my clients who struggled with their weights.
I also did my fair share of research and talked with other fitness experts to find easy options for building a homemade deadlift platform for your home gym.
Quick Summary
- To create a sturdy and effective deadlift platform at home, follow a step-by-step guide that includes selecting materials, cutting, and assembling.
- A well-constructed deadlift platform protects both your floor and weightlifting equipment from damage.
- According to Pullum Sports, 80mm deadlift platforms are best for noise reduction.
- In my experience, investing time in building a DIY deadlift platform is worthwhile for serious weightlifters, as it adds a professional touch to home gyms.
Making Your Platform

Mark out your allocated platform space before you begin creating your deadlift platform.
This may be done with paint, tape, or any other type of marker.
Here is the step-by-step guide to making your deadlift platform:
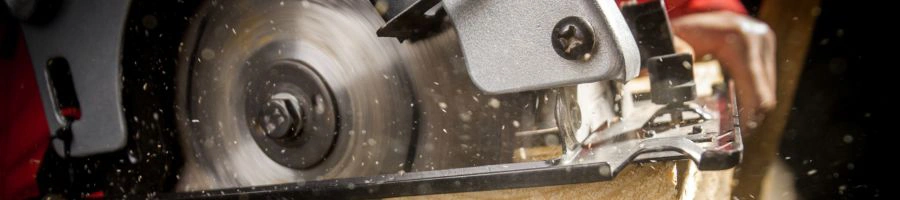
- First, start by cutting the wood. Cutting the huge piece of 3/4"-thick plywood may be challenging. However, based on where you buy the board, the store might be able to carve it for you, which could be the easiest alternative if the cut is precise.
- After cutting the plywood in two, sand off the scuffs, smooth the edges, and cover the top with polyurethane. Allow the first application of polyurethane to rest overnight before dispensing the second coat.
- Using a utility knife with a new blade, 2x4s, and a straight edge as a guide, cut the horse stall mats into 2" parts.
- Use clamps to grip the 2x4s with the horse stall mat pressed in between.
- Then, drill holes where you want your screws to go into the stall mats and maple plywood lifting surface. Following that, insert eight screws into each of the parts.
- Spray paint the sides of the OSB black to match the color of everything else.
- Put everything together, then attach a few screws through each stall mat.
- Remove the maples after they're secure, so you may apply glue before screwing them down.
- Add a finishing washer to every screw to give it a more polished appearance.
- The final step is to install all of the screws and finishing washers.
"You'll have to have a blade designed exclusively for plywood. The use of the incorrect blade renders the cut much more difficult and perhaps dangerous."
- Kyle Divine, Garage Gym Enthusiast
This deadlift platform's eventual destination is a basement, or where you have your quality squat rack attached.
Balancing DIY efforts with ready-made solutions was key in my home gym setup.
The 4'x8' will be ideal for the vast majority of individuals.
Drawing from my own experience in assembling a larger 8'x8' weightlifting platform, I strongly advise bringing all the cut components to the final location, like a basement or garage, before assembly.
This approach not only eases the building process but also helps in visualizing the setup in its intended space.
Tools and Material Needed
There are two standard sizes: 4x8 and 8x8. Let's get into how to build a common 4x8 platform.
The tools needed:
- Circular saw
- 1/4" drill bit
- Straight edge
- Utility knife
- Cordless drills
- Random orbit sander
Material needed:
- 24 stainless steel finishing washers
- One 4 ft. x 6 ft. x 3/4 in. thick rubber horse stall mat
- One 3/4-in x 4-ft x 8-ft maple plywood (According to Civil Engineering, this increases the strength of the material) [1]
- Elmer's wood glue, 4 Fl oz
- One 4’x8’ sheet of 5/8” thick oriented strand board (OSB) 5/8-in x 4-ft x 8-ft OSB
- 24 #8 1-1/4" flat head Phillips screws
- Rust-oleum spray paint, satin canyon black (optional)
- Minwax polyurethane, 1/2 pint, semi-gloss
Why Is Building Your Platform Worth It?
Building your platform is worth it as it protects your equipment, yourself, and flooring and designates your location.
I contacted two coaches I'd recently worked with and inquired about the advantages of owning their customized platforms.
They both offered similar responses regarding the necessity of customizing platforms.
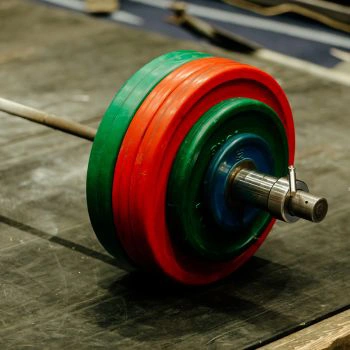
1. Protects Your Equipment
When you build a weightlifting platform, it may let you dump and slam weights without curving bars or breaking plates.
According to a study published on the ResearchGate website, dropping a significant weight on a platform not designed to absorb the impact sometimes results in bent bars [2].
2. It Designates a Location
They both mentioned that a platform is ideal for allocating space for specific activities.
Others know to keep off the platform if someone uses it, benefiting room organization and preventing injury.
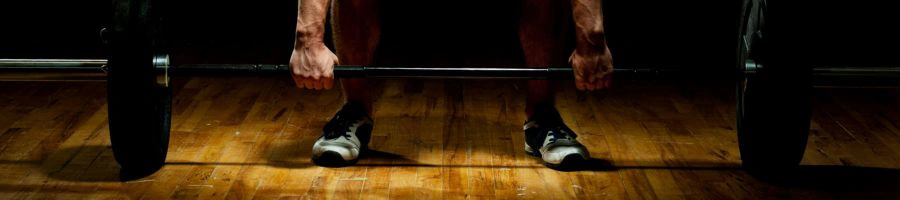
3. Protects Your Floors While Also Promoting Lifter Safety
Platforms prevent the cracking and denting of concrete as well as other flooring.
A platform also contributes to a lifter's safety by boosting the capacity of a bar to bounce predictably.
This reduces the possibility of a bar falling into a gap and bouncing onto a lifter or passerby.
Related Article: CrossFit Deadlift Workouts
Customization Ideas for Personal Gyms
Here are some innovative ideas to customize your deadlift platform, making it a unique and motivating centerpiece of your home gym:
- Stenciling and painting: Use stencils to add motivational quotes, your name, or unique designs to the platform. Select paint that is durable and suitable for the materials you've used.
- Built-in LED lighting: Install LED strips around the edges or beneath the platform for an energizing effect, especially for early morning or late-night workouts.
- Integrated tablet or smartphone holders: Add holders to keep your devices secure and accessible for workout tutorials, music, or tracking your progress.
- Modular design: Construct your platform in a way that allows you to add or remove sections, adapting to different types of workouts or space constraints.
- Adjustable height options: If you're skilled in woodworking or metalwork, consider creating a mechanism to adjust the platform's height, catering to various exercises.
- Built-in storage: Design the platform with compartments or racks underneath to store weights, bands, or other equipment, keeping your gym organized and efficient.
- Customizable rack systems: Attach or build racks that can be adjusted or moved, offering flexibility in how you organize and access your equipment.
Common DIY Mistakes to Avoid
Here are the most common mistakes to avoid when making a deadlift platform:
- Inaccurate measurements: One of the most common mistakes is not measuring materials accurately. Double-check measurements before cutting to ensure your platform is symmetrical and stable.
- Ignoring material quality: Don’t compromise on the quality of materials. Using subpar wood or rubber can affect the durability and safety of your platform.
- Improper layering: Ensure that each layer of the platform is correctly aligned and secured. Misaligned layers can create an uneven surface, increasing the risk of accidents.
- Skimping on adhesive: Use enough adhesive to bond the layers securely, but avoid excessive amounts that can seep out and create a mess.
- Overlooking surface texture: The top layer should have a non-slip texture. A too-smooth surface can be hazardous, especially when lifting heavy weights.
- Neglecting edge finishing: Unfinished edges can lead to splinters and cuts. Sand down all edges for a smooth finish.
- Ignoring leveling: Ensure your platform is level after installation. An uneven platform can lead to improper lifting form and potential injuries.
FAQs
Do You Need a Deadlift Platform for a Home Gym?
Yes, you need a deadlift platform for home gyms. Platforms for deadlifting safeguard your concrete floor. They also secure the brass weights and deadlift bar from damage caused by dropping the bar.
How Thick Should the Deadlift Platform Be?
The deadlift platform should be two inches thick. A solid weightlifting platform will provide up to two inches of padding between the floor and your feet.
What Are Deadlift Platforms Made Of?
The deadlift platform is made of plywood and rubber mat. The inner part of the weightlifting platform is wooden, and the outer is made of rubber mats.
References:
- https://civiltoday.com/civil-engineering-materials/timber/204-advantages-and-disadvantages-of-plywood
- https://www.researchgate.net/publication/342347305_
About The Author
You May Also Like