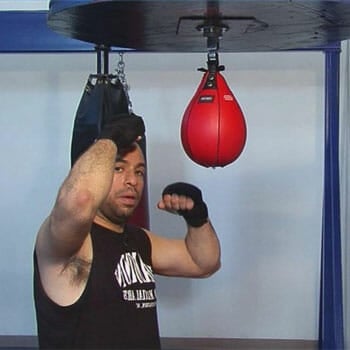
As with any fitness tool, there's a right and wrong way to use a speed bag, and it all starts with your setup.
Drawing from my extensive MMA and training experience, I've streamlined the assembly process for various types of speed bag units, ensuring efficiency and correctness.
Here's how to hang a speed bag for your at-home boxing gym.
Quick Summary
Different Kinds Of Speed Bags

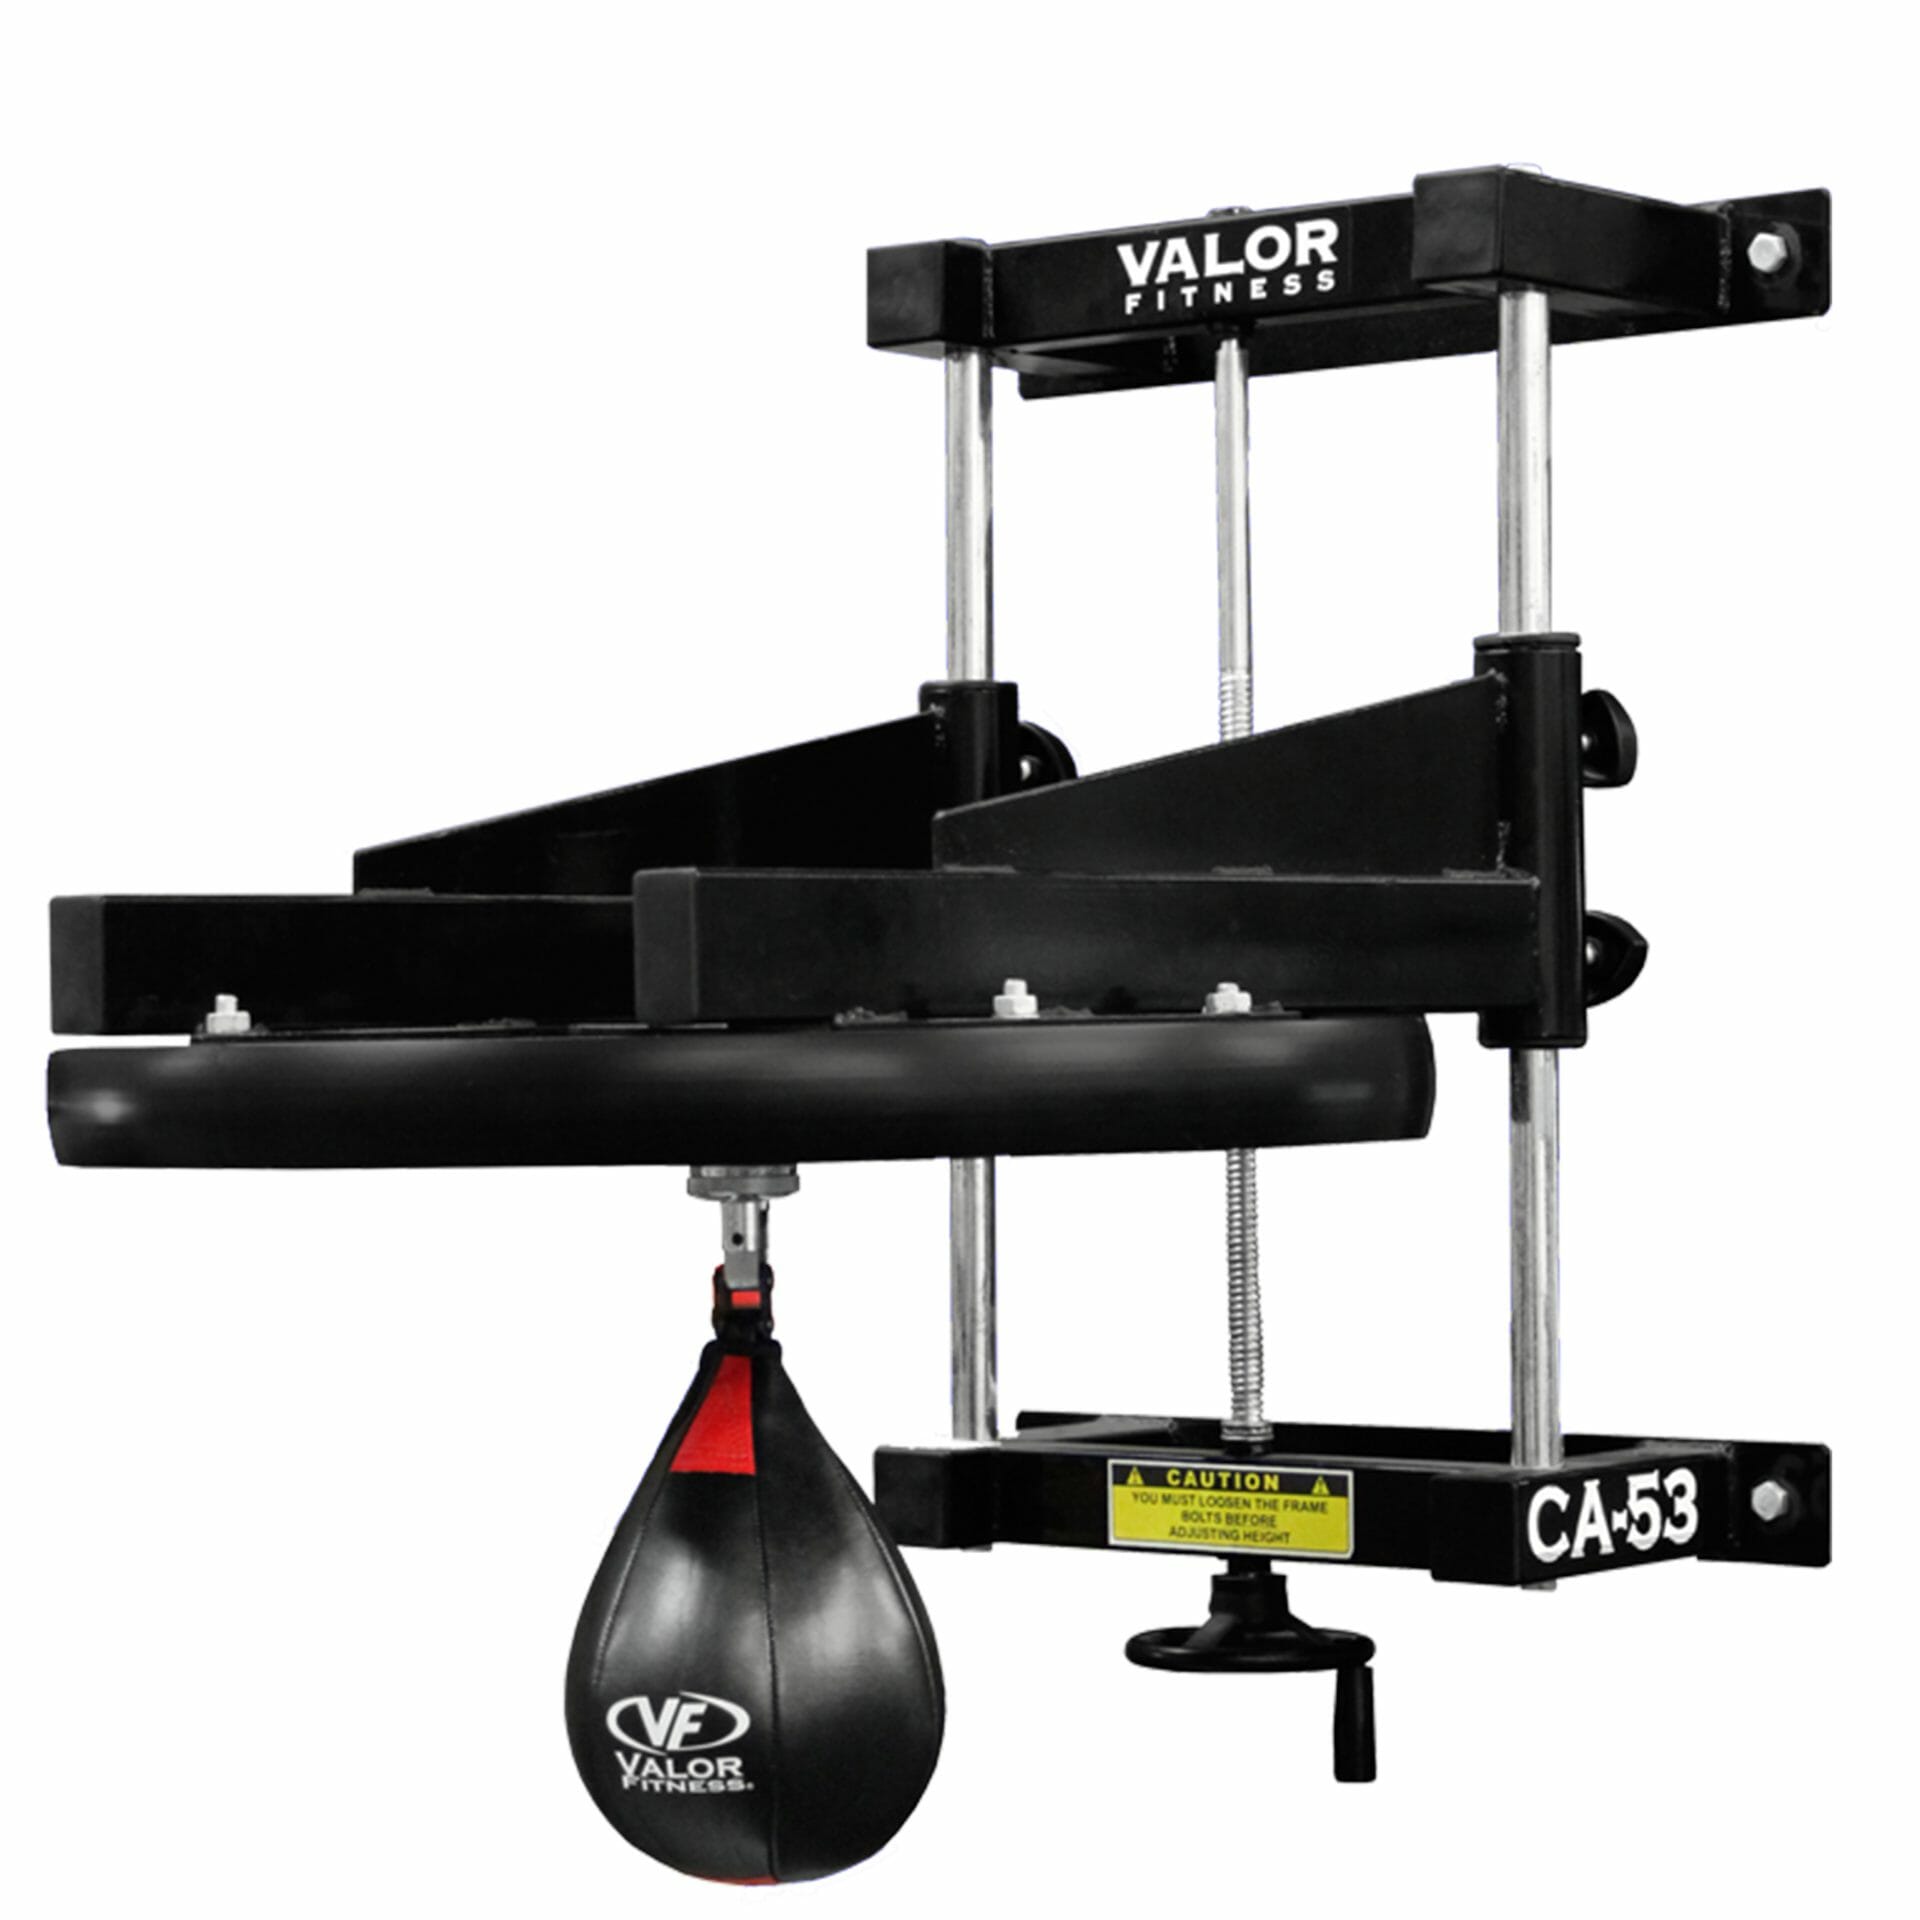
Speed bag units either come with a ceiling mount, a wall mount, or a platform.
In my time at EVOLVE MMA, I've learned that with a speed bag platform, simply following the provided instructions gets you ready for training, hassle-free.
For the other two types, just follow these steps.
Hanging A Wall-Mounted Speed Bag

1. Buy a Speed Bag Unit
Most fitness supply and sporting goods stores offer different kinds of speed bags. If possible, purchase an adjustable unit so you can change the bag height at any time.
Most units typically cost between $50 and $250, depending on the quality of the beam.
2. Pick the Right Space

Select a flat, open wall area, high enough to mount the unit above eye level, ideally 0.5 to 1 feet above your head.
Ensure the surrounding space is clear.
3. Make Marks on the Surface
Using a tape measure, find the distance between each of the punching bag unit’s support bars.
Note these measurements using your tools, then mark the areas on the surface where you should mount the unit.
5. Attach the Wall Mount

Measure the distance between support bars, mark these on the wall, align and secure each mount using a level and screws.
6. Secure Your Mounting Plate on the Bracket
Take the mounting plate of your punching bag and slide the attached beams into the bracket.
7. Hang the Speed Bag on the Swivel Hook
Screw the hook onto the center of the mounting plate and connect the speed bag’s top loop to the bottom of the hook.
Attaching A Speed Bag To The Ceiling

1. Pick the Right Space
With its low ceilings, the basement is an excellent spot for installing ceiling mounts for your punching bag.
Also, installing the bag in a secluded place in your home—like the basement or the garage—will allow you to focus and do your workouts in peace.
2. Get to Drilling
Measure the speed bag’s height and make sure the striking area is in front of your forehead.
Hold the mount to the ceiling and use a marker or pencil to mark the screw holes. Drill holes into those marked places, according to the bolts or screws that came with the mount.
3. Attach the Mount
Grab a screwdriver to affix the mount to the roof. Use a level to ensure that it is even.
After tightening the screws, tug on a part of the ceiling mount and make sure that it doesn’t wobble.
4. Hang the Bag
Hang the punching bag on the mount. It should end up hanging straight and be at level with your eye or nose at most.
Test Your Speed Bag

As a seasoned MMA champion with a background in kickboxing, I highly recommend beginners follow these essential tips for efficiently mastering the sport:
- If you’re a beginner, throw some test punches with an open hand first. This will help you build rhythm and improve the accuracy of your hits.
- The punching bag will bounce three times after every hit. Wait for the movement to stop before you hit again.
- Hold your arms in front of the bag at all times in order to improve your endurance.
- Keep your hands close to the bag so that you don’t hit it with too much power.
- Hit the bag with one hand at a time.
- Avoid straight punches and jabs; instead, use small, circular motions to hit the bag.
- After a bit of open-hand practice, try hitting with closed fists.
- Wear inner gloves or hand wraps. Wearing hand wraps minimizes skin damage and boosts punch impact, as noted in the Canadian Journal of Applied Sport Sciences study [1].
Martial Arts Related Articles:
FAQs
What Is the Best Size Speed Bag?
The best size speed bag for beginners is a larger bag because it’s easier to hit, then transition to a smaller one once you get better.
A smaller unit is harder to hit and provides benefits such enhanced momentum and hand-eye coordination.
How Much Do You Inflate a Speed Bag?
Inflate the speed bag according to its recommended p.s.i. printed near the needle opening. Usually, it’s 4-8 p.s.i. If it doesn’t have one, you can check the instructions that come with it or the manufacturer’s website.
References:
- https://pubmed.ncbi.nlm.nih.gov/6525750/
About The Author
You May Also Like


